
프로젝트에서 주기적으로 실행해야 하는 기능이 필요할 때가 있다.
API call을 주기적으로 받아서 데이터 전처리 후, DB에 적재하는
작업같은 경우 스케줄러를 필요로 한다.
Django에서 사용할 수 있는 스케줄러 종류는 다양하지만,
APScheduler를 이용하는 방법을 알아보자.
다음 예제는 매분의 10초마다 jobs.py의 schedule_api
함수를 실행하는 로직이다.
#1 APScheduler 설치하기
먼저 apscheduler 모듈을 설치해준다.
|
1
|
pip install apscheduler
|
cs |
APScheduler
In-process task scheduler with Cron-like capabilities
pypi.org
#2 Jobs 패키지 설치
프로젝트 내 Jobs 디렉토리를 만들어준다.
디렉토리 내에는 jobs.py와 updater.py 두가지
파일을 생성해준다.
#3 updater.py
|
1
2
3
4
5
6
7
8
9
10
|
from datetime import datetime
from apscheduler.schedulers.background import BackgroundScheduler
from .jobs import schedule_api, timeCheking
def start():
print("jobs.updater.jobs")
scheduler = BackgroundScheduler()
scheduler.add_job(schedule_api, 'cron', second=10)
scheduler.add_job(schedule_api, 'interval', seconds=1)
scheduler.start()
|
cs |
APscheduler가 제공하는 옵션은 크게 두가다.
먼저 cron 속성은 매시간, 매분, 매초 마다 실행되도록 적용한다.
즉 cron, second=10 이라고 하면,
매분 10초가 되면 함수를 실행하는 옵션이 된다.
반면, interval은 함수의 실행주기 옵션이다.
매 10초 간격으로 함수를 실행하게 된다.
각 상황에 맞춰 옵션을 선택하면 된다.
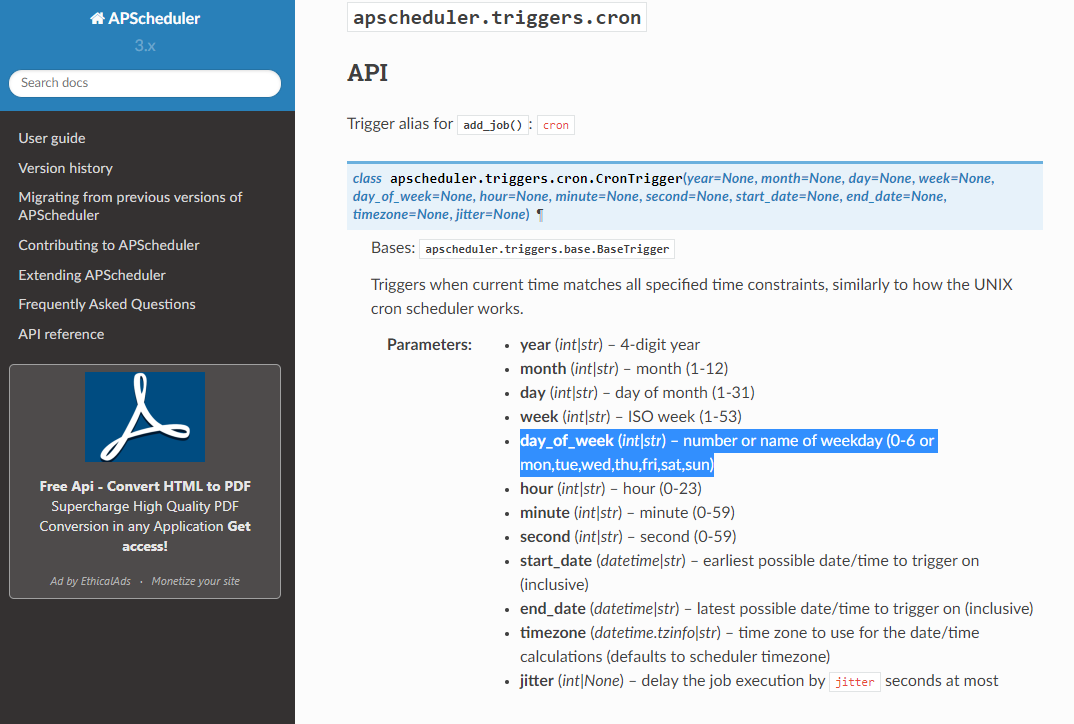
APscheduler document를 보면 다양한 옵션으로
시간을 제어할 수 있다.
apscheduler.triggers.cron — APScheduler 3.8.1.post1 documentation
Introduction This is the most powerful of the built-in triggers in APScheduler. You can specify a variety of different expressions on each field, and when determining the next execution time, it finds the earliest possible time that satisfies the condition
apscheduler.readthedocs.io
#4 jobs.py
|
1
2
3
4
5
6
7
8
9
10
11
12
13
|
from django.conf import settings
from time import time
import requests
import json
import random
from datetime import datetime
timeZone = datetime.now()
def schedule_api():
print(" Every 10 seconds this executed")
print(" Now : %s" %timeZone.second)
print("This is SCHEDULER APPS PROCESSING")
|
cs |
#5 apps.py 수정
프로젝트 앱의 apps.py에서 AppConfig을 상속받아
새로운 클래스를 만들어준다.
우리가 오버라이딩 할 함수는 ready()다.
|
1
2
3
4
5
6
7
8
9
10
|
from django.apps import AppConfig
class MainAppConfig(AppConfig):
name = 'main_app'
def ready(self):
# print("this is Django-apps.py ready function()")
from jobs import updater
updater.start()
|
cs |
#6 project/settings.py 수정
프로젝트 디렉토리에서 settings.py를 보면 INSTALLED_APPS를
설정해준다.
mainapp.apps.MainAppConfig
위 항목을 배열에 추가해주면 모든 작업이 완료가 된다.
'Programming' 카테고리의 다른 글
| [Ubuntu Linux] ubuntu에서 화면 조정하는 방법 해상도가 안맞는 경우 solved! (0) | 2021.11.26 |
|---|---|
| 윈도우 C 드라이브 용량 부족문제, 분명히 다 지웠는데 사용용량이 실제 사용량보다 많은 경우 해결방법 windows c drive is showing more used spaces that I actually use (1) | 2021.11.26 |
| Ubuntu에서 postgreSQL 사용하는 방법 (0) | 2021.11.24 |
| AWS RDS postgres 접속하기(psql 이용하는 방법) (0) | 2021.11.19 |
| ModuleNotFoundError: No module named 'storages' (0) | 2021.11.12 |
| postgreSQL 이름의 릴레이션이 없습니다. relations does not exist ERR 해결방법 (0) | 2021.10.24 |

댓글